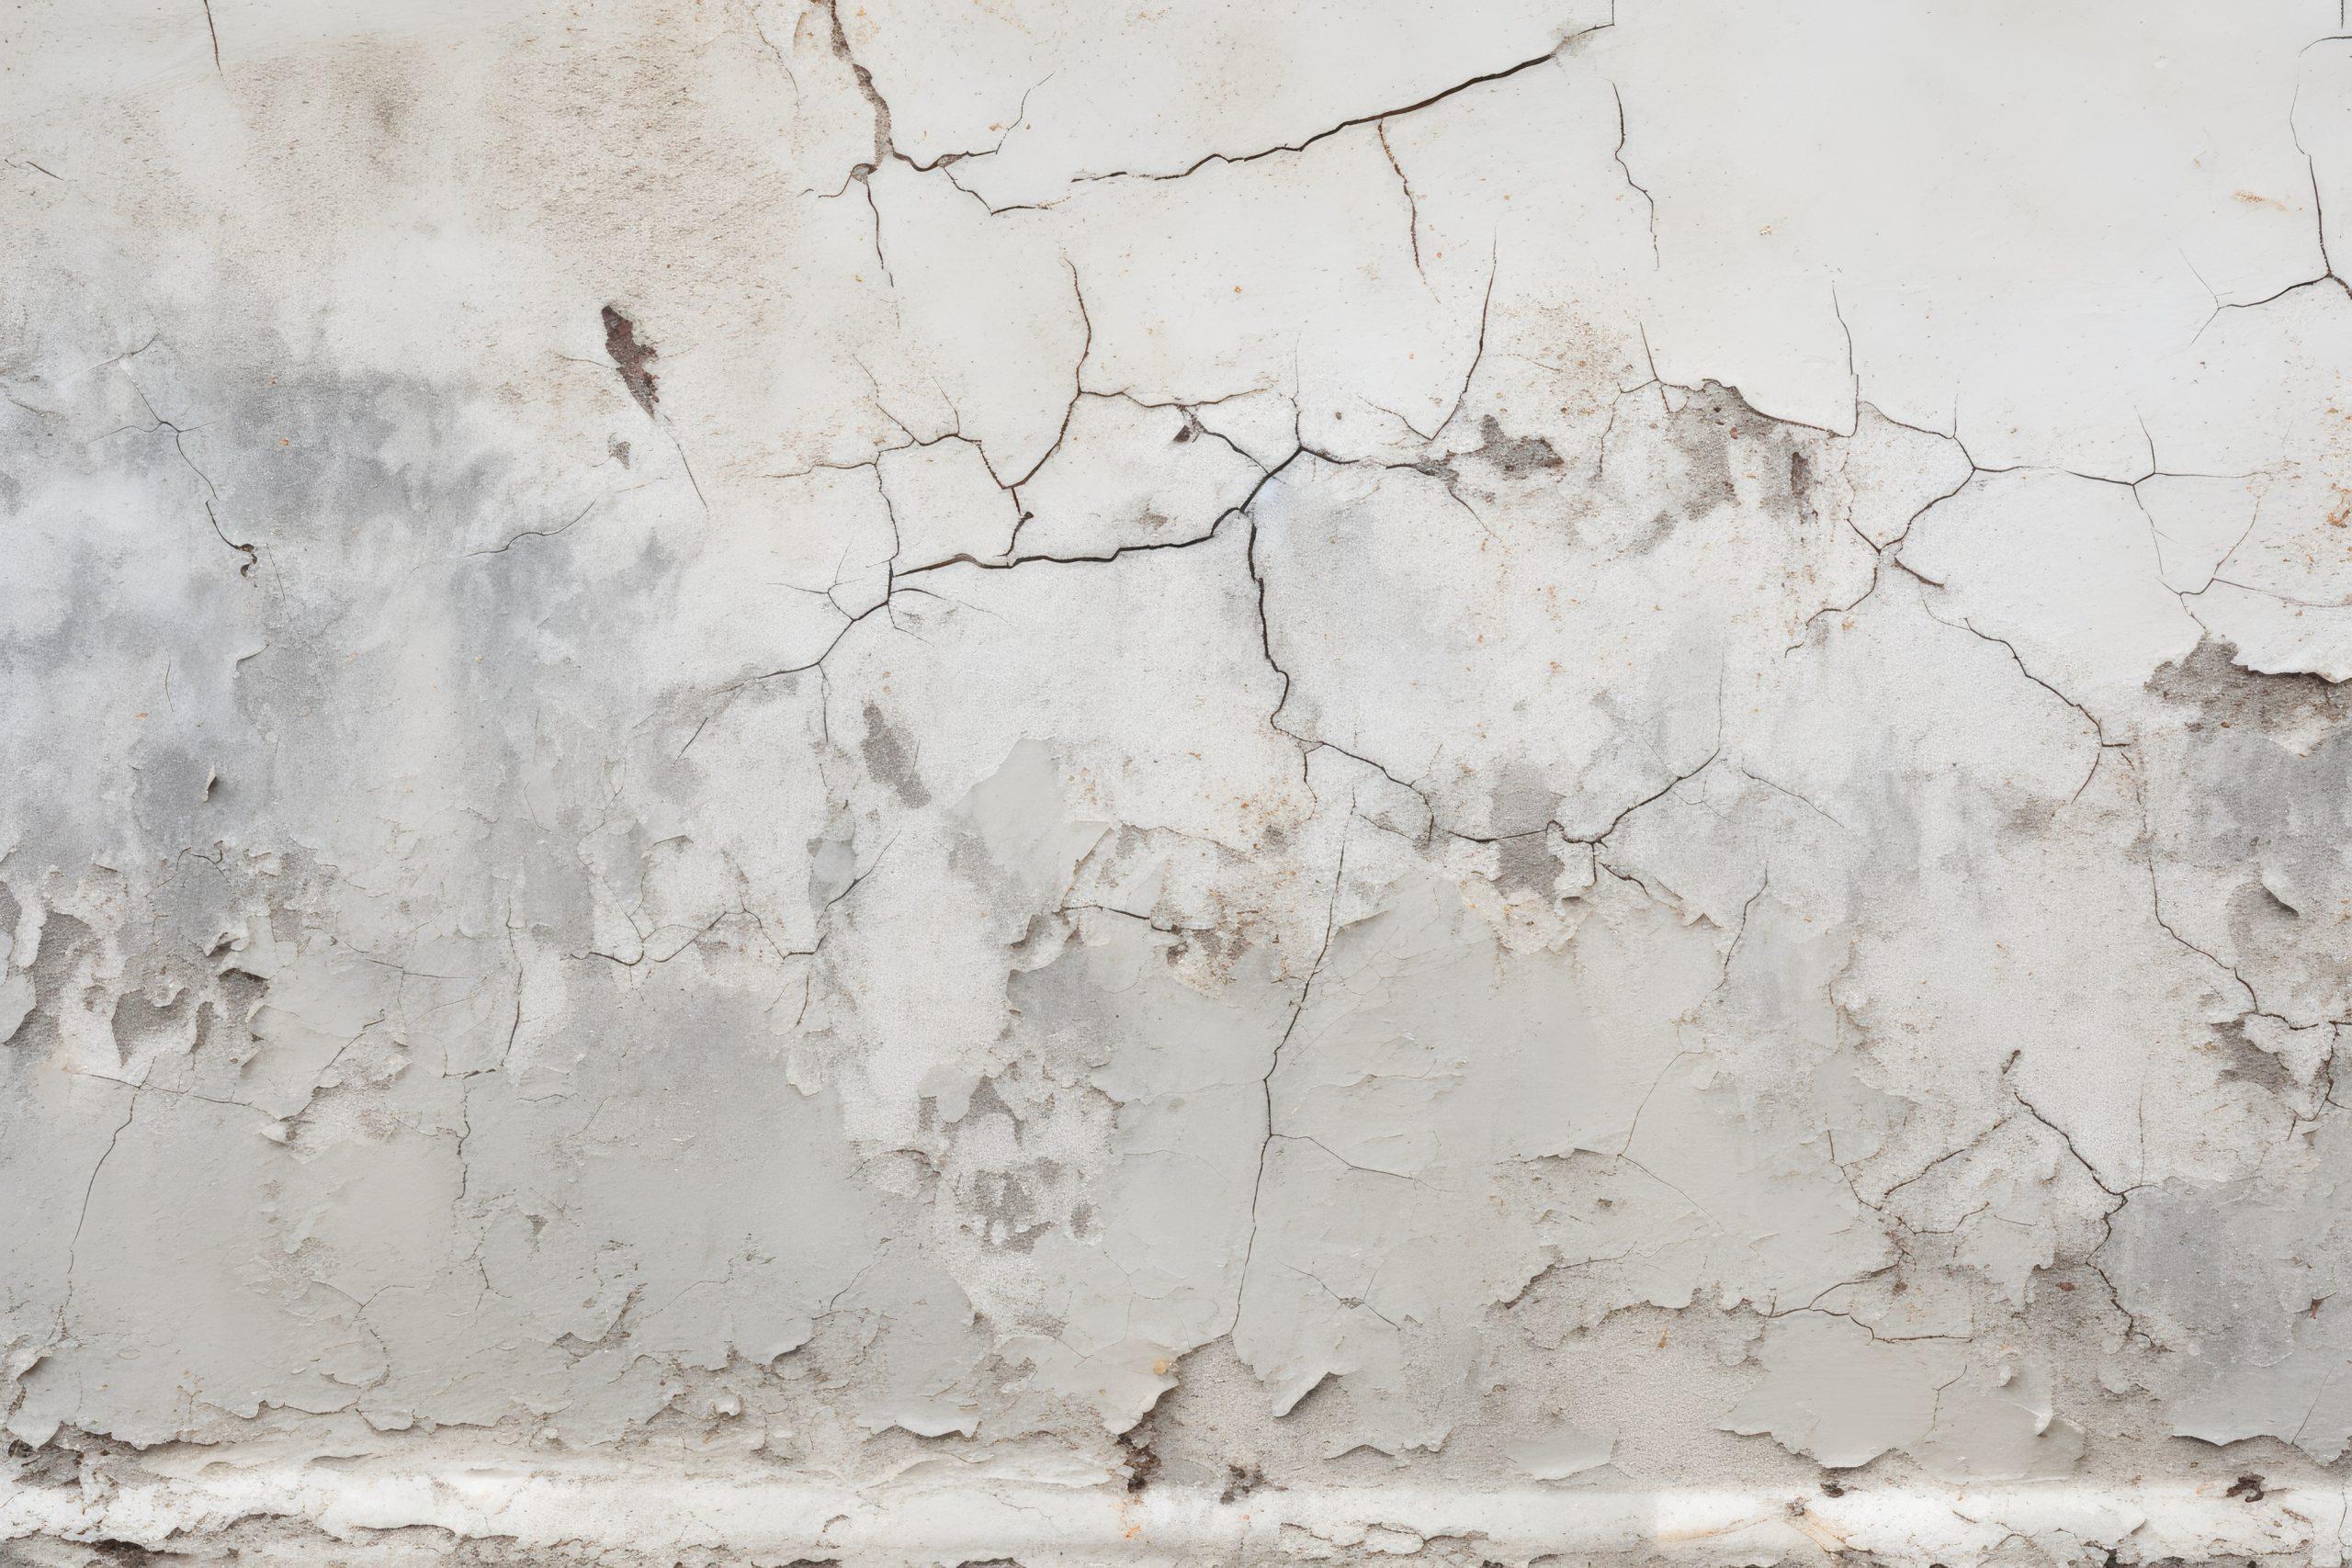
How to Render a Damp Wall So It Doesn’t Fall Off Again
How to render a damp wall comes down to one rule: treat the water climbing through the masonry before you touch a trowel. Render a rising damp wall the normal way and you trap the water and the salts behind a hard skin — the coat drums hollow, cracks along a fairly straight line, then drops off in slabs. The trade fix is a short sequence: confirm the cause, fit a polarity inverter, hack off the sealed coating, let the wall dry out, then finish with a breathable mix. The inverter can go on your own quote, supplied and fitted alongside the render.
The Signs a Renderer Should Never Ignore
The customer calls about a patch of render that keeps failing. Before you price a simple hack-and-fill, read what the wall is telling you:
- cement render that sounds hollow low down and then comes away in slabs;
- cracking and a fine crazed pattern that ends along a roughly horizontal line;
- a darker band at the foot of the wall that never quite dries between showers;
- white salt deposits and paint that blisters and flakes off the render;
- inside, a plaster skim that turns powdery behind the skirting;
- on a stone wall, mortar joints that crumble away in your hand.
Patch it once and you’ll be back on the same wall within a year. Knowing how to render a damp wall properly starts with reading these signs, not with the mix in your bucket. A closely related case is covered here: crumbling external render at the base of a wall.
Why Render Fails on a Damp Wall
Salts crystallise behind the coat
Water rising through the masonry carries dissolved salts. When it evaporates, those salts crystallise — and under a low-permeability render, that crystallisation happens right at the join between wall and coat, pushing the render forward until it lets go.
A sealed coat pushes the water higher
A cement render or a closed masonry paint cuts down evaporation at the base. The water simply looks for an exit further up the wall, so the damp band creeps above your repair and the patch becomes obvious.
Frost finishes the job
On an external wall, a render that stays saturated goes through freeze-thaw cycles. Water freezing inside the coat and the substrate opens up hairline cracks into real gaps.
Interior plaster suffers the same way
Indoors, a gypsum skim on damp masonry loses its bond, turns to powder and pulls any paint on top away with it.
What to Check Before You Price the Repair
Sound it out and measure
Tap the render to map the hollow areas, then record the height of the damp band inside and out. A fairly even band rising from the ground, with salt staining, on a load-bearing wall points to rising damp rather than anything else.
Rule out the other causes
A stain under a window sill, around a crack, or on the wall that takes the worst of the weather usually means water infiltration, not rising damp. Mould in cold corners points to condensation. In either case, and after flooding, a polarity inverter does nothing — tell the customer plainly. To tell them apart: condensation, infiltration or rising damp.
Check what’s happening around the base of the wall
A downpipe discharging at the foot of the wall, a leaking gutter, a blocked gully or ground that slopes toward the house all add extra water to the masonry. A path or slab laid tight against the wall also bounces rain splash back onto the render. Note it all in your survey.
Find the fitting point indoors
Even on an external render job, the device is fitted inside the building: low down on the damp load-bearing wall, facing its wettest stretch, with nothing between the unit and the bare masonry. For an ATE, you also need a permanently live, earthed socket that isn’t switched off at a wall switch — check for one while you’re on site.
How to Render a Damp Wall: Step by Step
Step 1: Fit the polarity inverter
Fix the device low down, facing the worst-affected stretch, well away from any corner (a corner halves its working range). Fitting takes only minutes, with no drilling and no chasing. To choose the model, measure from the fitting point to the furthest damp wall and match it to the working radius:
- 7.5 m radius: the ATE LC15, a 15 m diameter;
- 15 m radius: the ATE LC30 or the ATE Pulse, a 30 m diameter — the models fitted most often in a house;
- 30 m radius: the ATE MAX, a 60 m diameter, built for larger volumes such as blocks of flats, older buildings or commercial premises;
- the ATG LC30 or ATG LC15 where no permanently live earthed socket is available at all.
Height, angle, contact with the wall: run through the polarity inverter installation guide before your first job of this kind.
Step 2: Hack off the sealed coating
Strip the cement render and any closed paint on the affected area, indoors and out, going well above the top of the damp band. The more of the base you expose, the faster the wall dries.
Step 3: Correct the water entry points
Downpipe, gutter, gully, ground level: fix every outside source of water yourself, or hand it to the right trade.
Step 4: Let the masonry breathe
Leave the wall bare for several months before the finishing coat. While it dries, salts migrate to the surface, so a wall that’s improving can look whiter for a while. A pencil line, dated, at the top of the damp band gives the customer a clear reference point.
Step 5: Finish with a breathable render
For the finish, choose a vapour-permeable render such as a lime render rather than cement — the right match for older stone or brick masonry too. On timing, quote 18 to 24 months before a visible improvement in general; a thick, badly soaked wall takes longer.
Add the Treatment to Your Render Quote
As a renderer, you’re often the only tradesperson who looks closely at the base of the wall. If the cause is left in place, it’s your render that gets the blame. On the quote, itemise:
This is also how to render a damp wall in a way you can put your name to: the render is only as good as the wall behind it.
- supply and fit of the polarity inverter, with its reference and working diameter;
- hacking off the sealed coating at the base;
- correcting water entry points, or referring the right trade;
- the lime finish coat, scheduled as a second visit;
- notes for the customer: timeframe, socket never switched off, roughly £15 a year in electricity, 10-year manufacturer warranty, and the limits of the treatment.
Order through Help Humidité Pro
A subsidiary of Humidistop, Help Humidité Pro reserves its ATE and ATG devices for registered businesses. Company name, registration number, contact details: registration takes two minutes and the account is live straight away, with no paperwork to submit.
- trade prices from the first unit, with discounts on larger quantities;
- free delivery within 7 working days, paid by bank transfer or PayPal;
- explanatory sheets and diagrams you can drop straight into your quotes;
- made in Castres, ISO 9001 certified, ATE range compliant with EMC standards validated by the Nexio and Emitech laboratories;
- no franchise, no minimum term, no exclusive territory.
Frequently Asked Questions
What render works on a damp wall?
A vapour-permeable render, a lime render for example, and only once the cause has been treated and the wall left to dry out. A cement render at the base traps water and salts.
Can you lime-render straight onto a wall with rising damp?
Lime lets the masonry breathe better, but it doesn’t treat water rising from the ground. Salts will keep pushing through it for as long as the cause is left untreated.
Does a polarity inverter deal with render cracking from rain penetration?
No. It treats rising damp. Rain penetration is a question of the render’s, the roof’s or the window’s weathertightness.
How do I order as a renderer?
Register your company on the Help Humidité Pro shop. Access is instant, and an order can be a single unit.
In Brief
On a rising damp wall, render comes last, never first. Sound it out, rule out infiltration, fit the polarity inverter indoors against the load-bearing wall, hack off the sealed coating, correct the water entry points, leave it to dry for months, then finish in lime. Put the timeframe and the scope of the treatment in writing. To turn this habit into turnover: how to make more money as a builder with this one add-on.