Loose Wall Tiles at the Base of a Wall
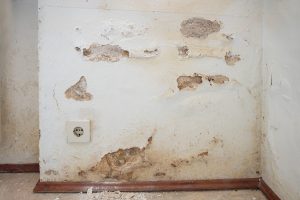
Loose wall tiles at the base of a wall worry owners, because tiling looks solid by nature. Yet the fault rarely lies with the fixing. In most cases, water held in the masonry pushes from behind. So here is how to read this symptom and in which order to act.
Why loose wall tiles start at the bottom
The adhesive loses its grip
Tile adhesive copes poorly with permanent moisture. It softens, then releases gradually. So tiles sound hollow well before they fall.
Salts push from behind
Ground water carries mineral salts. Arriving beneath the tiling, it can no longer evaporate freely. It therefore drops its salts directly behind the tiles. Those salts then crystallise, expand and lift the whole assembly.
The tiling worsens its own downfall
Here lies the least intuitive point. Bonded tiling seals the wall surface. Consequently, it blocks evaporation and concentrates water exactly underneath.
Loose wall tiles: reading the pattern
A continuous band low down
If tiles sound hollow at an even height along the whole wall, the diagnosis points to rising damp. Moreover, the phenomenon often affects several walls at once.
An isolated area
Local debonding near a water supply suggests a leak. It then advances regardless of season.
Tiles falling higher up
Damage in the upper section belongs rather to a fixing fault or to penetrating damp. It does not follow the floor line.
Our page on rising damp sets out each sign.
Loose wall tiles: the simple test before any diagnosis
It requires no equipment.
Tap the tiles with a knuckle, working from the bottom upward. A solid sound means sound adhesive. A hollow sound signals debonding under way.
Then note the height at which the sound turns solid again. That limit often matches the height of the rising damp.
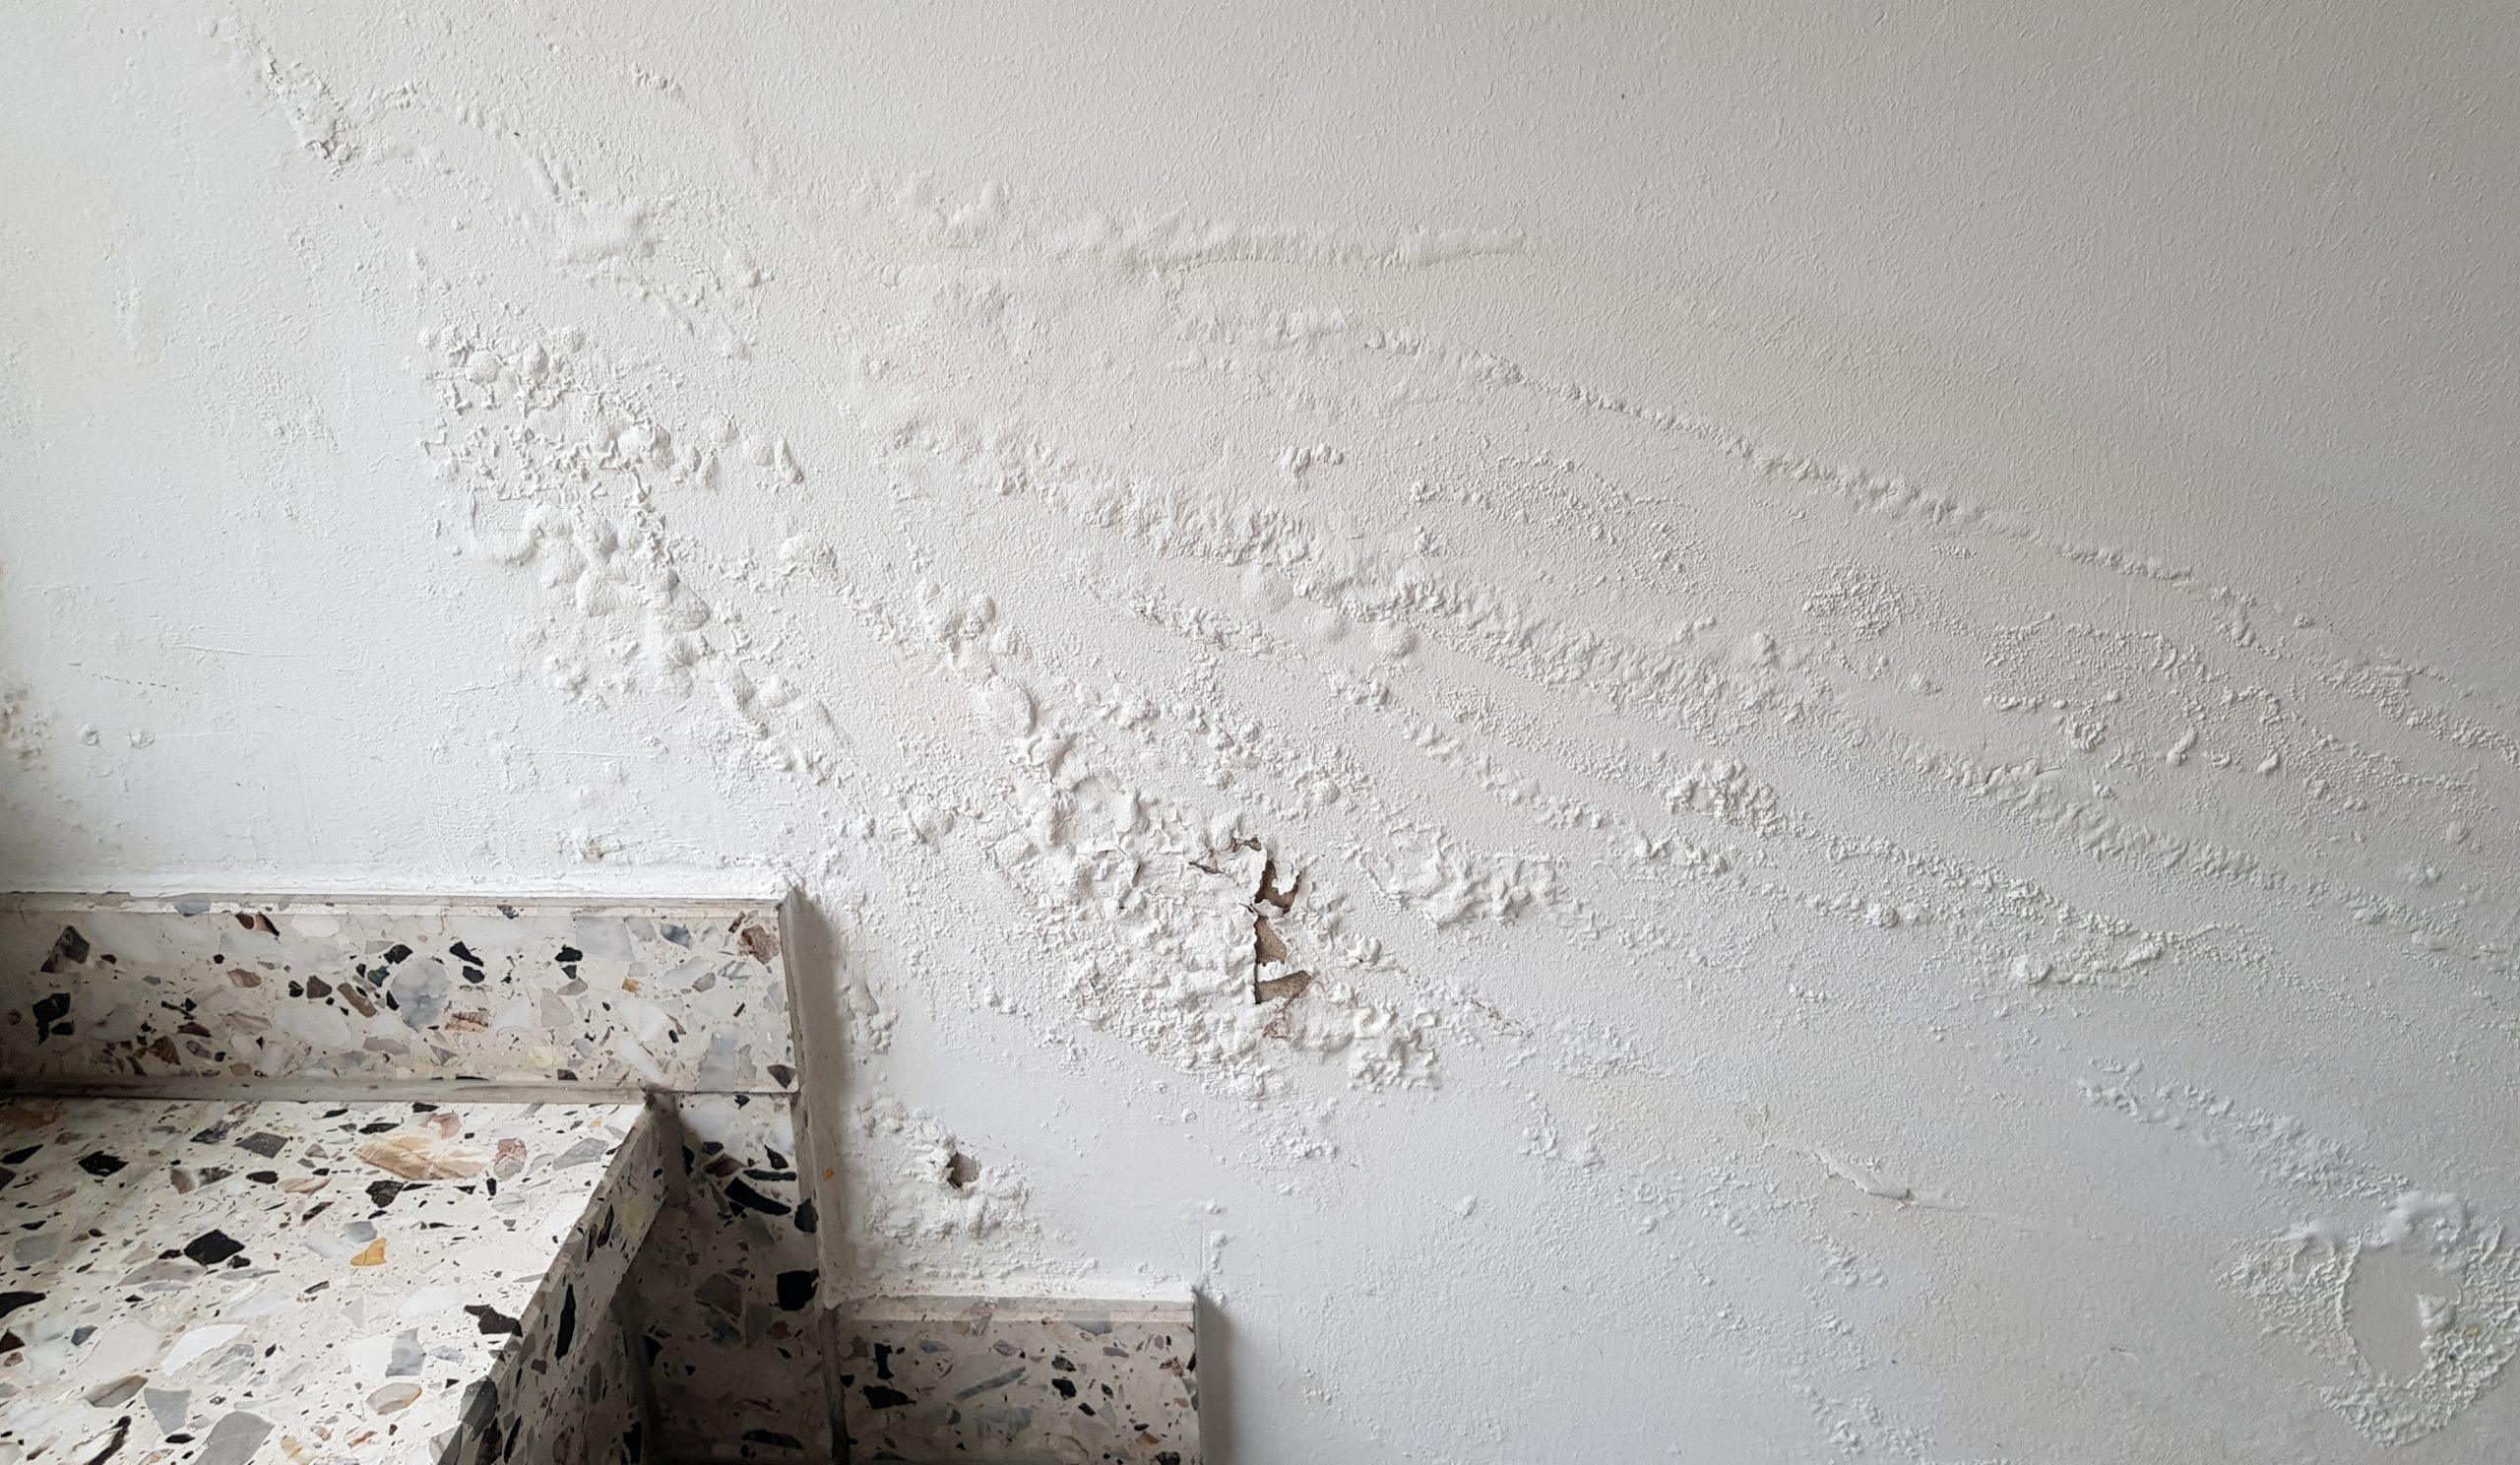
Finally lift a tile that has already released. Look at the adhesive and the background behind it. White powder and friable render confirm that salts have passed through.
Loose wall tiles: mistakes that restart the problem
Refixing in the same place
This is the immediate reflex, and the most expensive. The wall still holds water, so the tile will release again.
Choosing a water-resistant adhesive
It holds better, yet it seals the surface further. Water then climbs higher, and the damage moves above.
Rebuilding cement render behind
Same mechanism. Cement passes vapour poorly and concentrates salts beneath the surface.
Sealing with silicone at floor level
A sealed bead between tiling and floor removes the last escape route.
Painting the bare areas
Sealed paint on a wet background blisters within months. It hides the symptom without touching the cause.
The right order of work
Faced with loose wall tiles, the sequence matters as much as the work itself.
Start by identifying the source, using the signs described above. Next, fix outside water sources: gutters, downpipes, gullies, ground slope, paving laid tight against the façade.
Then let the wall breathe. Remove released tiles, failed render and any sealed finish low down. That bare wall may stay open for several months, which is entirely normal.
Treat the cause if water rises from the ground. Finally, retile once the wall reaches a stable level, never during drying.
Treating water that rises from the ground
Several methods exist: resin injection, a physical damp proof course, perimeter drainage and polarity inversion. Yet only the last avoids drilling the masonry.
Everything starts with the polarity of water. Each molecule behaves like a tiny magnet, with two opposing poles, and that trait helps it climb through the capillaries. By emitting a low-frequency signal, the unit unsettles that balance. From then on the movement reverses and the water descends instead of rising.
The range splits into two lines. The ATE line works electromagnetically and asks only for an earthed socket, at a yearly cost near €15. The ATG line does without any supply, yet it comes into play only where fitting an ATE turns out to be unworkable.
For siting, aim at the most damaged stretch of a load-bearing wall and stay near the floor. The surface must be even, and the housing must rest against the stone or brick itself, with no board in between. Reach then makes the difference: allow a radius of 7.5 metres with the ATE LC15, 15 metres with the ATE LC30 and 30 metres with the ATE Max.
It bears repeating how far this method goes. It concerns only water coming from the soil. A leaking roof, an escape of water or a film of surface mould all belong to different trades.
Which finish to fit afterwards
Wait for the wall to settle first. A few choices then limit the risk.
Across the first thirty centimetres, favour lime render and mineral paint rather than bonded tiling. The wall then keeps its ability to evaporate.
If tiling remains essential, in a bathroom for instance, run it lower and leave a flexible joint at floor level.
Finally, avoid fully sealed adhesives and grouts at the base of the wall. That small gap contributes to evaporation.
How long before retiling
Once soaked, the wall behaves like a thick sponge: it gives back over many months what it took in.
In practice, those who follow our siting instructions notice clear differences within 18 to 24 months. Clues show up well before: the mark plateaus in height, the remaining render holds, and white crystals stop returning.
There is a trap for the eye here. As the water leaves, it abandons the minerals it carried, and those gather in plain view. A wall well into recovery may therefore look briefly whiter than before.
Frequently asked questions
Do loose wall tiles always mean rising damp?
No. A leak or a poor fixing produces the same effect. However, an even hollow band at floor level points strongly to the ground.
Can I refix a few tiles meanwhile?
You can, but the repair will fail. While the wall holds water, the adhesive will release again.
Does a water-resistant adhesive solve it?
No. It holds better, yet it seals the surface and pushes moisture higher up the wall.
Must I strip everything?
Not necessarily. Remove the hollow-sounding area plus a margin above, so the wall regains a breathing surface.
How can I confirm the source without equipment?
Send us photographs of the base of the wall, with a tile lifted where possible. We then point you in the right direction, free of charge and with no site visit.
In short
Loose wall tiles at the base signal water in the masonry and salts crystallising behind the tiles. The finish even worsens its own downfall by blocking evaporation.
Tap-test the surface, strip the hollow area, fix outside water sources, treat the cause, then retile only once the wall is stable. To find the right model, visit the shop, or write to us through the contact form.